Step-by-Step Instructions for Sporting Smiles Impression Trays
IMPRESSION TRAYS
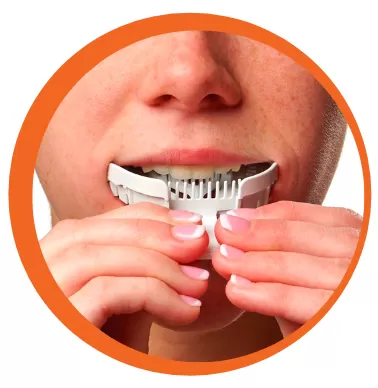
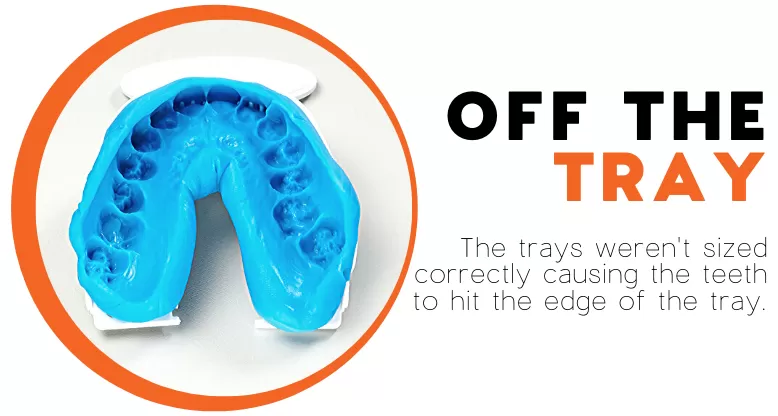
STEP 1 CHECK SIZING
- Put the Tray in your mouth
- Move it back and forth
- There must be equal distance between the tray and your teeth
- Your teeth must be centered
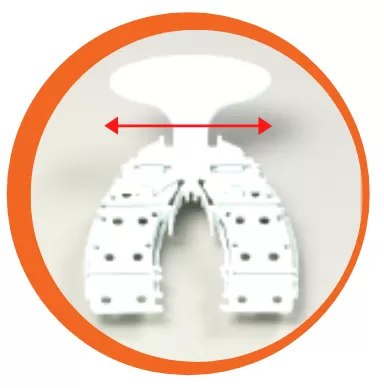
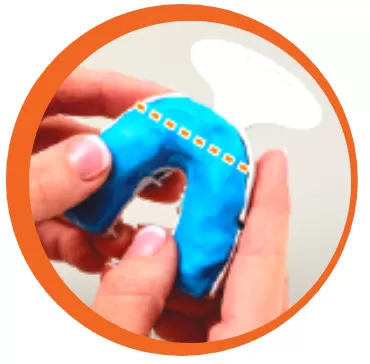
STEP 2 ADJUST TRAY
- Adjustments may NOT be needed
- Comes pre-sized as Medium
- Reduce by pushing sides together
- Increase by pulling sides apart
- Your teeth must be centered
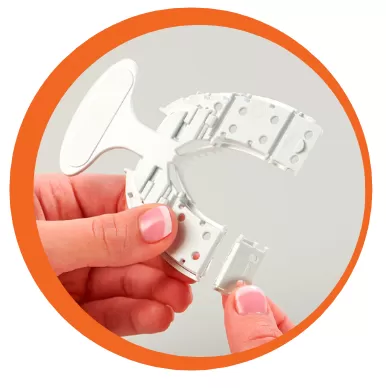
STEP 3 SNAPPING TRAY
- Snapping is USUALLY NOT needed
- ONLY snap if too long
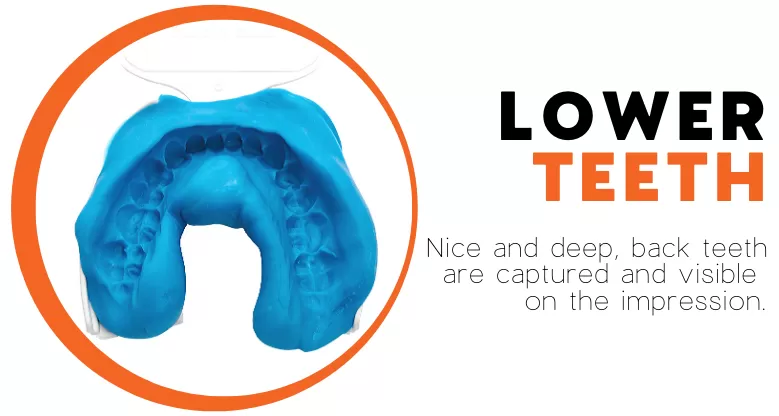
- If you snap the tray and your molars are not captured they will NOT be usable
Get your impressions pre-approved before mailing them back. Send photos of your impressions to [email protected]
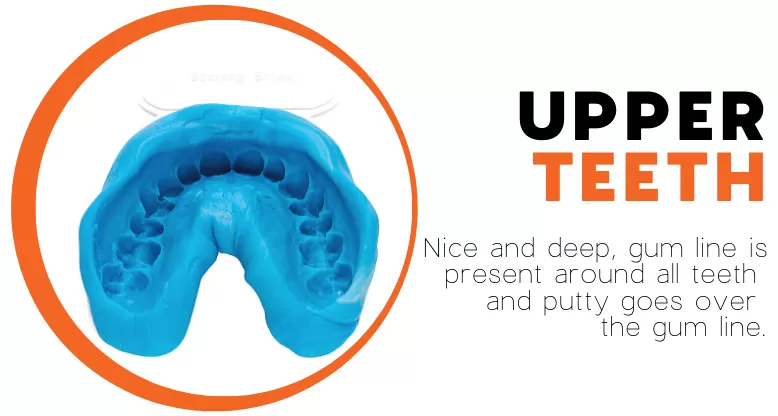
PUTTY AND BITING
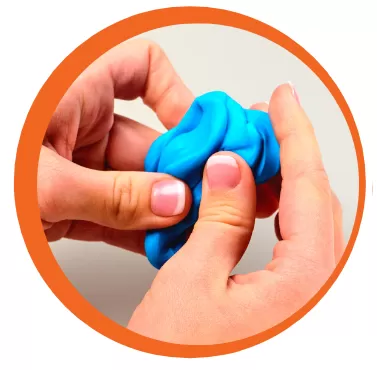
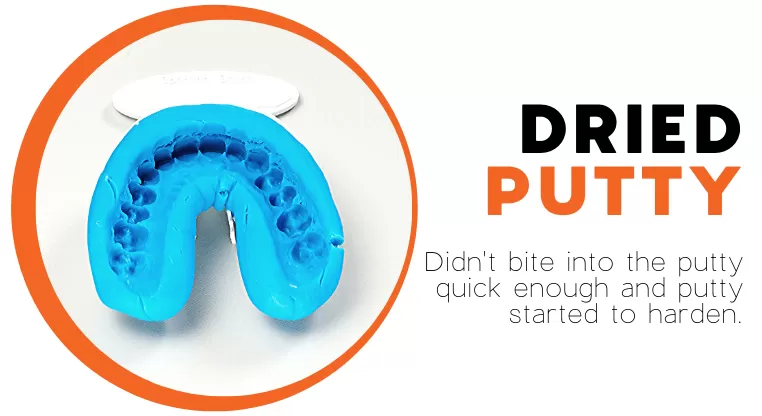
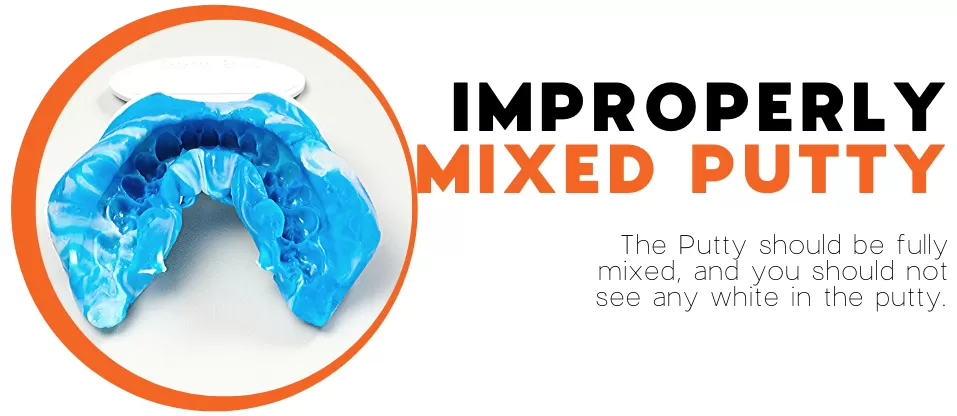
STEP 1 MIX THE PUTTY
- Putty must be room temperature
- Mix parts A & B together until uniform (Max 25 Seconds)
- NO white putty should be visible
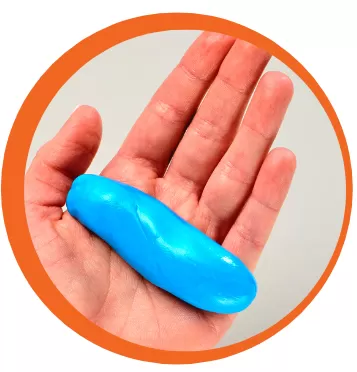
STEP 2 MAKE A TUBE
- Immediately roll the putty
- Make a 5 inch cylinder shape tube
- Get ready to fill the tray
- Putty must fill the tray completely
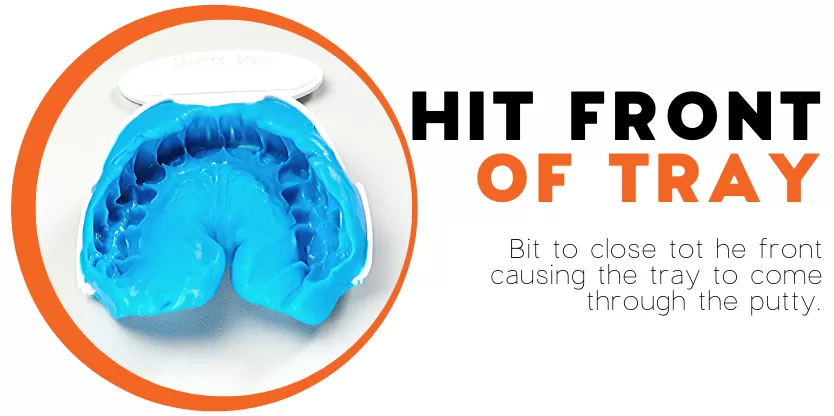
STEP 3 REFERENCE MARK
- Use a straight edge to mark where your front teeth will bite down
- Use a mirror to help guide you to the reference mark
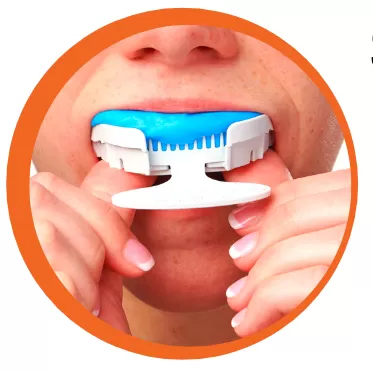
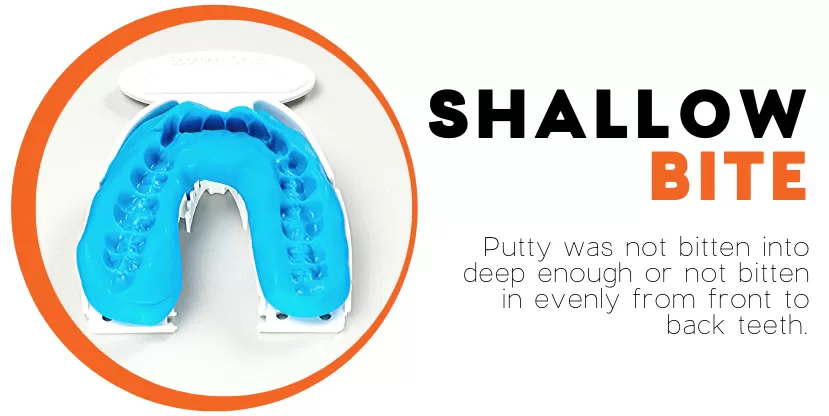
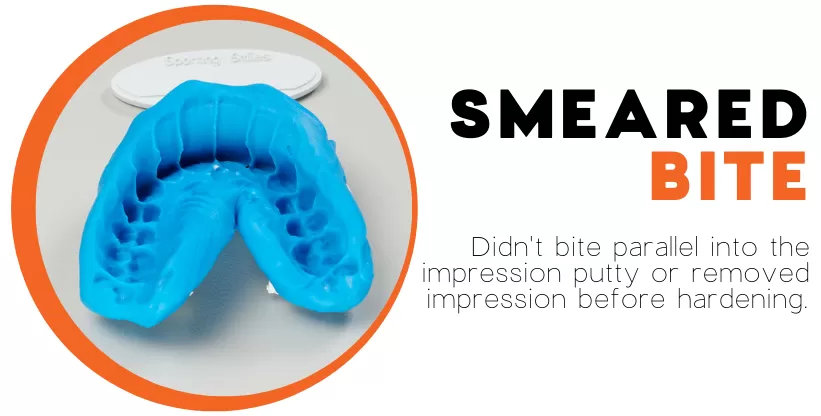
STEP 4 BITE AND WAIT
- Tray must be parallel with teeth
- Use thumbs to push hard and evenly on rear canine teeth
- Lip must be outside the tray
- Remove ONLY after 4 minutes
Second molars are optional on most of our products. If you require them, make sure they are included on your impressions and request verification by emailing customer service.
Get your impressions pre-approved before mailing them back. Send photos of your impressions to [email protected]